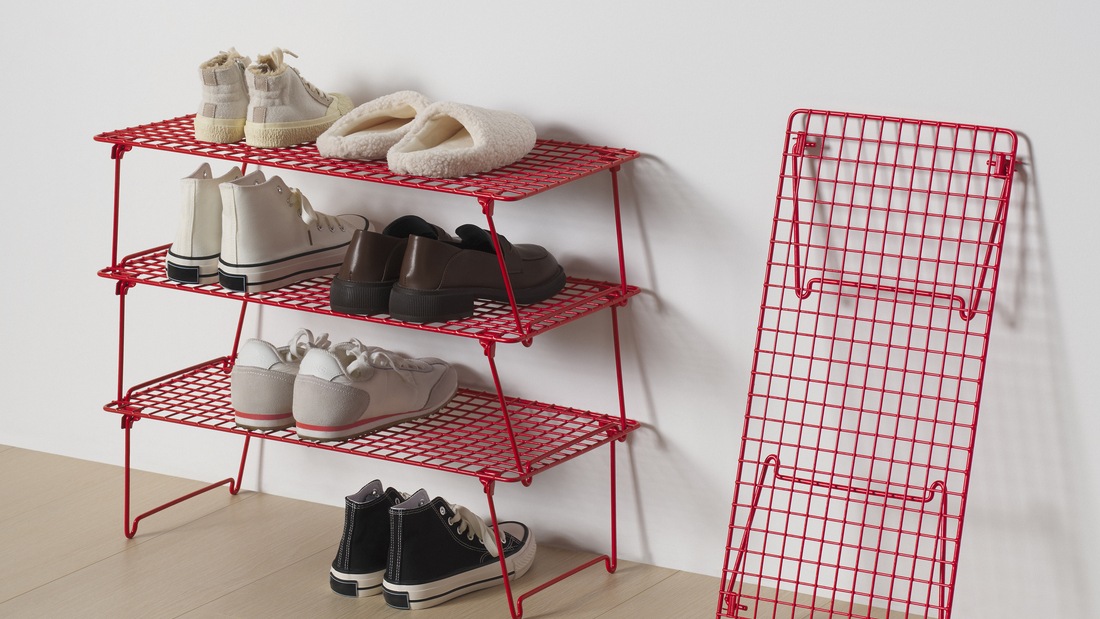
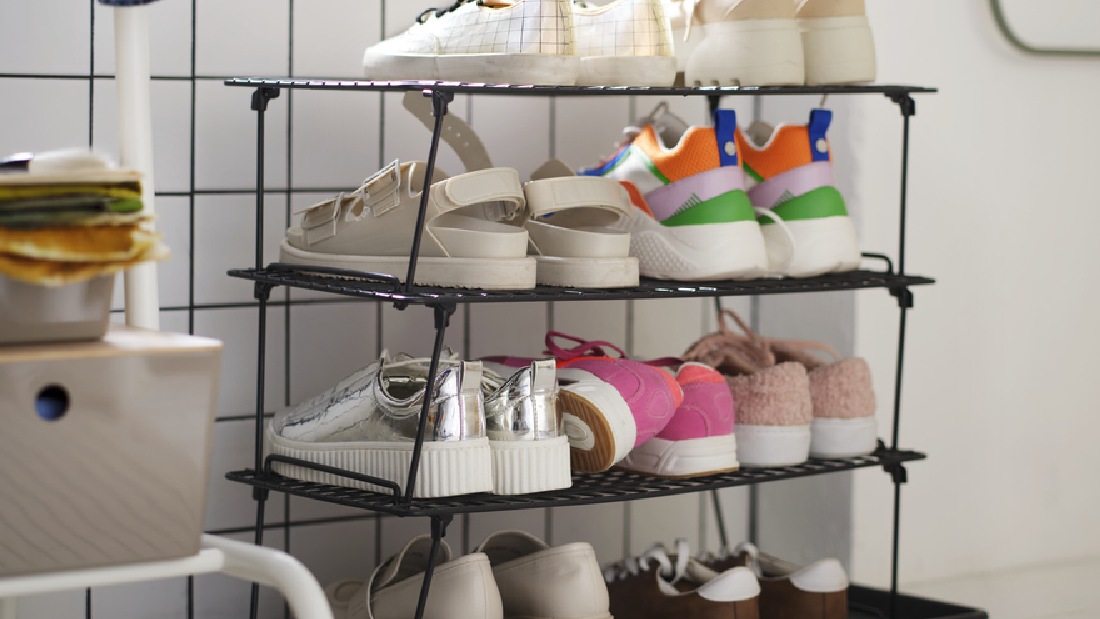
After all preparations are complete, you can proceed to the next stage, namely installation. This process requires precision so that the shelf can be installed firmly and function well. For that, let's follow the steps as follows:
- Step 1. Assembling the shelf components: Start by removing all the shelf components from the packaging and arranging them according to the instructions. Make sure you have all the necessary parts before starting assembly.
- Step 2. Assembling the shelf parts: Once the components are assembled, follow the steps in the instructions to start installing the shelf parts. Start with the main frame and make sure each part is installed correctly and firmly.
- Step 3. Finish and check the shelf: Once all the parts are installed, check the shelf again to make sure nothing is missed or installed less tightly. Make final adjustments and ensure the rack is upright and stable before starting use.
Tips and tricks for shoe rack maintenance
After your 4-tier shoe rack is installed properly, you need to carry out proper maintenance to ensure that the rack remains durable and functions optimally.
You can learn the tips and tricks below that can help you maintain your shoe rack to keep it in good condition:
Clean the shoe rack
Cleaning the shelves regularly will help keep them clean and prevent the buildup of dust or dirt.
Simple steps for cleaning a shoe rack to keep it clean and well maintained are as follows:
1. Take out your shoes
Before you start cleaning, remove all shoes from the shelves. This will make it easier for you to clean the entire surface of the shelf without obstacles.
2. Use a soft cloth
Use a soft cloth dampened with water to wipe the surface of the shelf. Start at the top of the shelf and work your way down so that dust and dirt don't contaminate the area you've cleaned.
3. Avoid harsh chemicals
If the shelf is made of sensitive materials such as wood or plastic, avoid using harsh chemical cleaners. Instead, mix a little soap with water to clean stubborn stains.
4. Clean nooks and crannies
Use a small brush or paintbrush to clean hard-to-reach nooks and crannies of shelves. This is important to do to remove dust and dirt that has accumulated in the area.
5. Dry with a clean cloth
After cleaning, wipe the rack with a dry cloth to remove moisture. Make sure the rack is completely dry before you put your shoes back to avoid damage to the rack material.
6. Regular Cleaning
To maintain cleanliness, perform regular cleaning at least once a month or more frequently if needed to help prevent dust buildup and keep shelves looking new.
Arrange your shoes to keep them tidy
Arranging shoes neatly is useful for keeping the shoe rack functioning optimally and looking attractive. Here are some tips that may help:
1. Group by type
Separate shoes by categories such as sports shoes, formal shoes, or sandals. This way, it will be easier for you to find the shoes you need without having to rummage through the shelves.
2. Easy to reach storage
Place the shoes you use most frequently on the shelf that is easiest to reach, and store the shoes you rarely wear on the bottom or top of the shelf to make it easier for you to store and retrieve shoes every day.
3. Rotate shoes regularly
To avoid dust buildup on shoes that are rarely used, rotate them regularly to help keep the shoes in good condition and ready to be used at any time.
4. Make use of additional accessories
Use a shoe organizer or storage box for special shoes, such as formal shoes or shoes made from sensitive materials. This accessory not only helps maintain the shape and quality of shoes but also adds a neat and orderly feel to your shoe rack.
Also read: Four ways to set the right atmosphere with LED lights
Enhance your home with a 4-tier shoe rack


