Installing a built-in stove requires precision and attention to detail to ensure a safe and properly functioning installation. Here are the steps you need to follow:
- Preparation: Before starting, make sure you have prepared all the necessary equipment, such as a hole saw or jigsaw, sandpaper, heat-resistant silicone sealant, screwdriver, and pliers. Also, read the installation instructions included with your built-in stove.
- Making a hole in the countertop: Measure and mark the position of the built-in stove on the countertop according to the dimensions specified in the installation instructions. Use a hole saw or jigsaw to cut the countertop following those markings. Make sure the cut is neat and smooth to prevent damage to the countertop or stove.
- Cleaning the hole edges: After the hole is made, sand the edges of the hole to make them smooth and even. This will help prevent damage to the cables or hoses that will be installed later. Also, clean any remaining sawdust and dust so as not to interfere with the installation process.
- Applying sealant: Apply heat-resistant silicone sealant around the edges of the hole. This sealant serves to prevent water or dirt from seeping into the stove, which can cause damage or short circuits. Make sure the sealant is applied evenly and let it dry according to the instructions on the packaging.
- Inserting the built-in stove: Carefully lift the built-in stove and insert it into the hole that has been made. Make sure the stove is installed evenly and stably, not tilted or wobbly. Also, check if the stove fits the hole properly and there are no gaps that are too large.
- Connecting electricity (for electric stoves) or gas (for gas stoves):
- Electric stove: Connect the stove's electrical cable to the previously prepared electrical outlet. Make sure the cable is connected properly and tightly, and is not pinched or bent.
- Gas stove: Connect the gas hose from the stove to the gas source. Make sure the connection is tight and there are no gas leaks. You can use a soap solution to check for gas leaks. If there are bubbles, it means there is a leak and you need to tighten the connection or replace the hose.
- Securing the stove: Some built-in stoves are equipped with clips or locking screws to secure them to the countertop. Make sure you install these clips or screws correctly so that the stove does not shift or come loose during use.
- Testing: After everything is installed, turn on the stove and make sure all functions are working properly. Check if all burners or heating elements are working, if the buttons or control panel are responsive, and if there are no suspicious gas or smoke odors.
Also read: Knife guide – choose the right knife for your kitchen tasks
Ensuring safe and correct built-in stove installation
After you have successfully installed the built-in stove, it is important to conduct a thorough series of checks to ensure that the installation is done properly and safely, so you can use the stove comfortably and without worry.
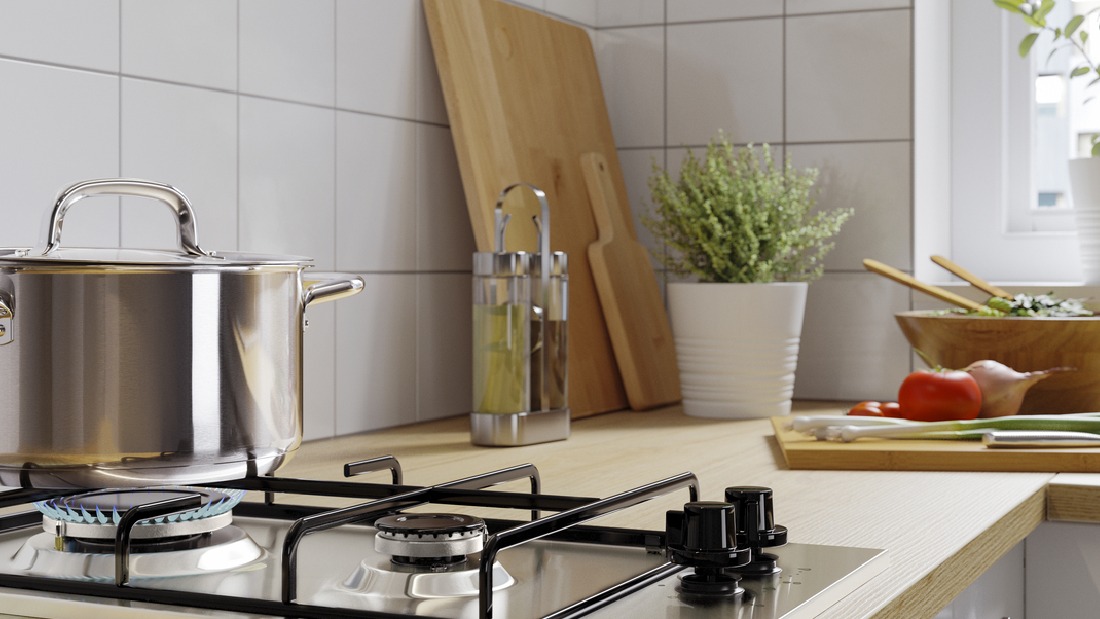
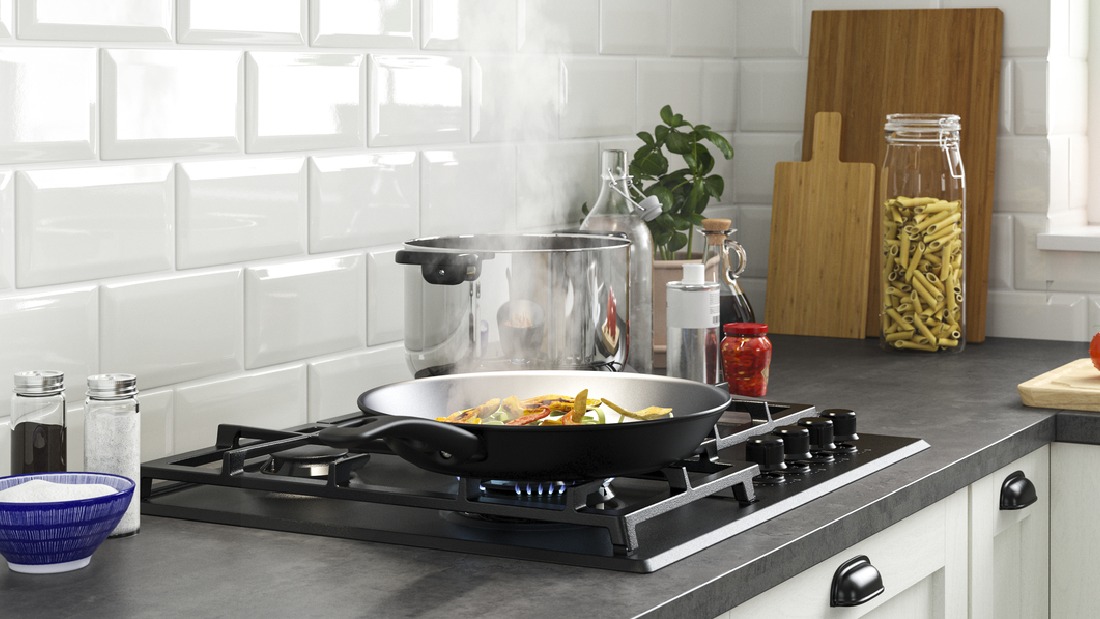
- Function test: Turn on each cooking zone or burner on your built-in stove. Make sure the heating elements on the electric stove heat up evenly, or the flame on the gas stove lights properly and stably. Also, check if the buttons or control panel are responsive.
- Safety test:
- Electric stove: Check if there are any frayed wires or loose connections that could cause an electrical short circuit. Also, make sure the stove does not emit a burning smell or unusual sounds when in use.
- Gas stove: Perform a gas leak test by applying a soap solution to the gas hose connections. If bubbles appear, it means there is a gas leak and you need to immediately turn off the gas supply and contact a professional technician.
- Check stability: Make sure the stove is securely and evenly installed on the countertop. The stove should not wobble or tilt when you press on it. If the stove is unstable, recheck if the clips or locking screws are installed correctly and tightly.
- Check ventilation: Make sure your kitchen has good ventilation to avoid the buildup of gas or smoke while cooking. Good ventilation is also important to maintain air quality in the kitchen and prevent fires.
- Comply with local regulations: It is important to comply with local regulations regarding the installation of built-in stoves, especially regarding electrical and gas installations. If you are unsure or have any doubts about something, do not hesitate to consult an experienced electrician or gas technician.
Care and maintenance of built-in stoves
Regular maintenance of your built-in stove is crucial to keep its appearance pristine, ensure optimal functionality, and extend its lifespan. Here are some maintenance steps you need to take:
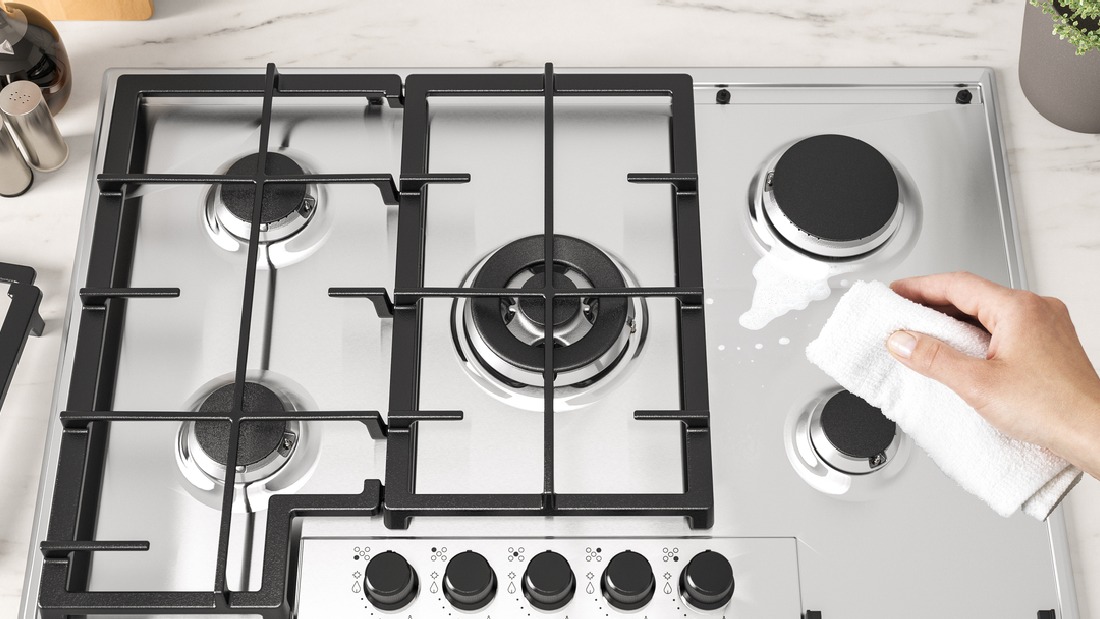
- Clean regularly: After each use, clean the surface of the built-in stove with a soft cloth dampened with warm water and dish soap. Avoid using abrasive materials or harsh cleaners, as they can damage the stove surface. Immediately clean up any food or liquid spills, especially on the control panel or heating elements, to prevent damage or short circuits.
- Special care for gas stoves: If you are using a built-in gas stove, also clean the burner and stove top parts periodically. Remove the burner and stovetop according to the instructions, then soak them in warm soapy water. Scrub with a soft brush to remove any food residue or dirt. Make sure the burner and stovetop are completely dry before reinstalling them.
- Special care for electric stoves: For electric stoves, clean the heating elements carefully with a damp cloth when the stove is cool. Avoid using abrasive materials or sharp objects that can damage the surface of the heating elements.
- Check cables and outlets (for electric stoves): Periodically, check the condition of the electrical cable and outlet connected to your electric stove. Make sure there is no damage, wear, or signs of short circuits. If you find any problems, immediately repair or replace the damaged cable or outlet.
- Replace damaged components: If any stove components are damaged, such as control knobs, heating elements, or burners, replace them with new ones immediately. Using damaged components can endanger your safety and cause further damage to the stove.
- Avoid spills: Try to avoid spilling food or liquids on the built-in stove, especially on the control panel or heating elements. If a spill occurs, immediately clean it with a damp cloth to prevent damage.
- Use special cleaners: For optimal care, use special cleaning tools from IKEA that are designed to clean and protect the surface of the built-in stove and kitchen. These products can help remove stubborn stains and maintain the shine of your stove. Get them at your nearest IKEA or on our website.
- Turn off the stove when not in use: Always turn off the stove after you finish cooking and unplug the electrical cable (for electric stoves) or close the gas cylinder valve (for gas stoves). This will help prevent accidents and save energy.
By maintaining your built-in stove regularly and properly, you can ensure that your stove remains in good working order, safe to use, and durable in the long run.
It's important for you to know that all stoves, whether sophisticated or not, need to be cleaned. So, paying attention to stove cleanliness is a must.
Also read: A cool, sophisticated dining space for a modest budget
Modern kitchen, more enjoyable cooking


