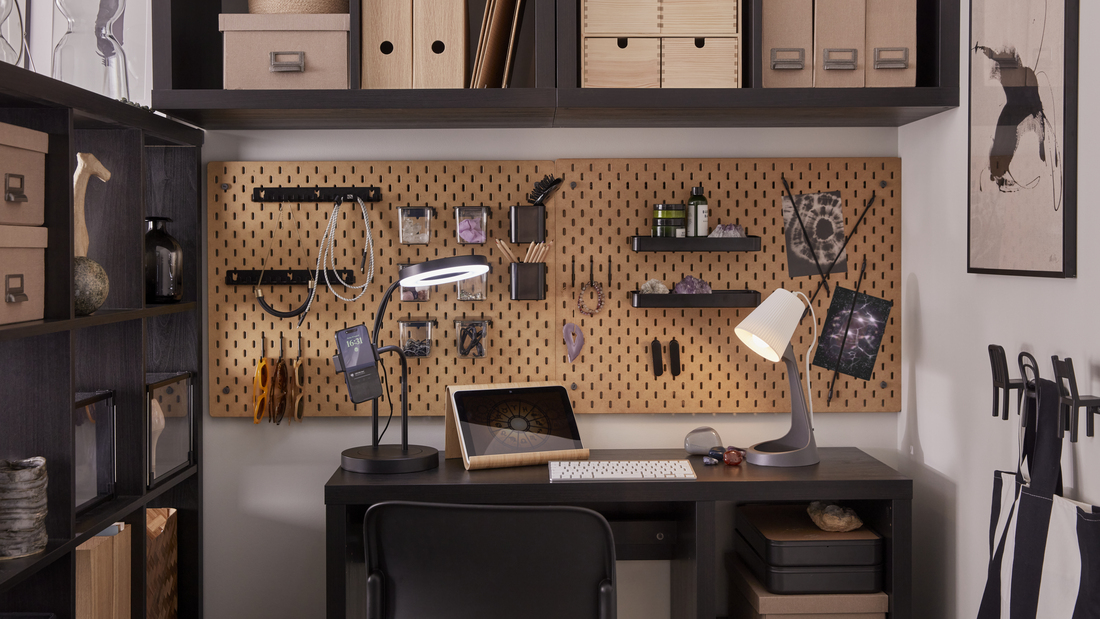
Have you ever had trouble finding tools, spices, or craft supplies because they are buried under piles of other items? A pegboard is a practical solution for using your wall as storage space without making your desk or floor even more cluttered.
With proper installation, a pegboard can provide flexible, accessible storage that can be arranged according to your needs. Let’s take a look at the complete guide below on how to install a pegboard safely and securely.
Good to know: A pegboard can be a practical vertical storage solution when installed with the right frame, hardware, and wall clearance. Match the pegboard material and load capacity to the types of items you plan to store to ensure safety and durability.
What is a pegboard?
A pegboard is a perforated board used to hang various items with the help of hooks, small shelves, or containers. Its hole pattern makes it easy to reposition accessories according to your needs.
Pegboards are commonly used in garages, kitchens, workspaces, workshops, and storage areas. They help transform an empty wall into a more functional vertical storage area.
Common pegboard materials and sizes
Pegboards are available in various materials, hole sizes, and sheet dimensions to suit different needs. Understanding the characteristics of each material can help you choose the right board based on the load and installation location.
Here is an overview in table form:
|
Material |
Strength & Load Capacity |
Moisture Resistance |
Suitable For |
Notes |
|
Hardboard or Masonite |
Low–medium |
Low |
Storage areas, light-duty kitchens, workbenches |
Affordable, easy to cut, and suitable for light to medium loads. |
|
Metal |
Very high |
High |
Garages, heavy-duty tools |
Strong and durable, but relatively more expensive. |
|
Plastic or PP |
Medium–high |
High |
Damp areas, household storage |
Lightweight, moisture-resistant, and often available in ready-to-use kits. |
|
MDF or plywood |
Medium–high |
Medium, depending on the finish |
Indoor workshops, garages |
Stronger when the board has an appropriate thickness and finish. |
Preparing before installing a pegboard on the wall
Proper preparation helps make the installation safer, neater, and less prone to errors. Measure the area, determine the installation method, and prepare the necessary tools before drilling or installing screws. Here is what you need to prepare:
1. Measure the wall area and determine the ideal position
Measure the width and height of the wall using a tape measure before purchasing or cutting the pegboard. Determine the position based on reachability so frequently used items are placed around chest height to slightly above head level.
Heavier items should preferably be placed toward the bottom so they are easier to access and do not put excessive stress on the upper part of the pegboard. Make sure the installation area does not interfere with doors, windows, or walkways.
2. Prepare the necessary tools and materials
Prepare the pegboard according to the required size, furring strips or spacers, as well as the hooks, small shelves, and accessories you plan to use. Furring strips create space between the pegboard and the wall, allowing hooks to be installed properly.
Use suitable screws, washers, and high-quality wall anchors if the pegboard cannot be mounted directly to studs. You should also prepare a stud finder, level, tape measure, pencil, drill, drill bits, saw, and screwdriver.
Safety equipment should also be prepared before starting the installation. Wear safety goggles, gloves, and a dust mask when cutting or drilling the pegboard.
3. Choose the paint color and primer as optional finishes
Choose a color that blends with the wall or use a contrasting color to make the pegboard a room accent. The right finish can make the storage area look neater without compromising its functionality.
If you want to paint the pegboard, do so before installing it to achieve a more even finish. Apply primer to hardboard so the paint adheres properly and is less likely to peel.
For damp areas, choose paint or a coating that offers water resistance. Make sure the painting process is carried out in a well-ventilated area so the board can dry completely before installation.
Read also: Interior Design Process: Complete Guide with IKEA for a Well-Planned Dream Home
Steps for installing a pegboard on the wall
Once all the necessary tools and materials are ready, you can install the pegboard step by step. Work carefully to ensure the board is level, secure, and capable of supporting loads within its rated capacity.
1. Cut and prepare the pegboard
Measure the area to be covered by the pegboard again, then clearly mark the cutting lines. Use a power saw with the appropriate blade to keep the cuts neat.
Sand the edges of the board to remove splinters or sharp edges. If the pegboard will be painted, apply the finish before installation and make sure the holes near the edges are not damaged.
2. Lift and secure the pegboard to the frame
Have someone help you lift the pegboard so it does not fall or shift during installation. Align the board with the furring strips, then begin installing the screws and washers from the center or upper corners.
Install screws approximately 20–30 cm apart to help distribute the load evenly. Check the level with a spirit level throughout the installation process to keep the board straight.
Once all the screws are installed, gently pull the pegboard to test its stability. A properly installed board should feel secure and should not wobble easily.
3. Use wall anchors
If some mounting points cannot reach a wall stud, use high-quality wall anchors such as toggle bolts or molly bolts. Plastic sleeve anchors are more suitable for light loads, so choose the type based on your needs.
Drill a hole according to the anchor size, install the anchor, and then tighten the screw slowly. Check the anchor’s load capacity before hanging items to ensure the installation remains safe.
Direct installation into wall studs remains a stronger option for long-term use. Avoid placing excessive weight on sections of the pegboard that are supported only by anchors.
4. Drill-free installation options
For renters or users who do not want to damage their walls, a pegboard can be installed using certain clamp systems or clips. Make sure the thickness of the desk or table matches the clamp specifications so the board remains stable.
Another option is to use brackets attached to furniture or a modular storage system. Some systems allow a pegboard to be mounted to the side of a cabinet or shelving unit without creating permanent holes in the wall.
Check the stability of the setup before hanging any items. Avoid placing heavy loads on one side, as this can cause the furniture or table to become unbalanced.
Common mistakes when installing a pegboard
Small mistakes when installing a pegboard can affect its functionality and safety. Be aware of the following common mistakes to ensure the board remains sturdy and its accessories can be used optimally.
-
Installing the board flat against the wall: The solution is to provide approximately ½–¾ inch of clearance using furring strips or spacers so that hooks can be inserted and locked properly.
-
Not using a level: The solution is to check the alignment at every stage of installation to prevent the pegboard from looking crooked and to distribute the load more evenly.
-
Relying solely on drywall without studs or sturdy anchors: The solution is to prioritize mounting the pegboard to studs or use wall anchors with a load capacity suitable for the intended use.
-
Hanging too much weight from a single point: The solution is to distribute items across multiple points, choose a pegboard material suitable for the load, and add additional support if necessary.
-
Using a damaged wall as the mounting surface: The solution is to repair the wall first or use plywood backing before reinstalling the pegboard.
Pegboard recommendations in various sizes and colors at IKEA
IKEA offers a variety of pegboards and wall organizers that can be used for storage needs throughout the home. One series worth considering is SKÅDIS, which comes in various sizes, colors, and accessories.
Here are some recommendations:
1. White SKÅDIS pegboard
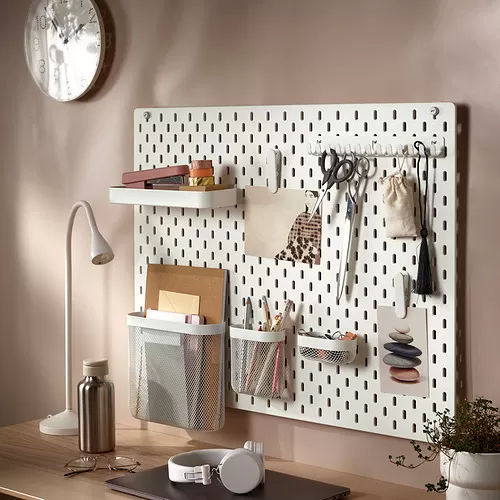
The white SKÅDIS pegboard, measuring 76 x 56 cm, is suitable for various storage areas around the home. Its surface can be combined with SKÅDIS accessories to organize items according to your needs.
This pegboard can be mounted on the wall to save space. You can also attach it to a desk using connectors sold separately.
2. Pink SKÅDIS pegboard
The pink SKÅDIS pegboard, measuring 56 x 56 cm, can serve as both a storage solution and a decorative accent. Its size is suitable for organizing various small items in a workspace or personal area.
The board can be mounted on a wall, desk, or the side of a cabinet using separately sold connectors. These mounting options make the pegboard more flexible for different room layouts.
3. Black SKÅDIS pegboard
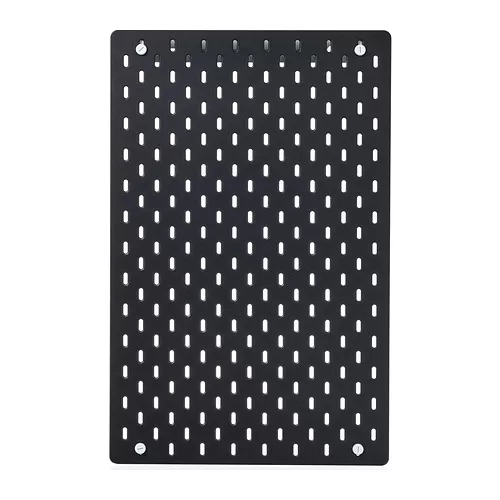
The black SKÅDIS pegboard, measuring 36 x 56 cm, has a more compact design that is suitable for areas with limited space. Its color can also add a bold look to a workspace or storage area.
The pegboard can be combined with various SKÅDIS accessories to store small gadgets, work supplies, or everyday items. You can use a single board or combine several boards according to your needs.
4. Wooden SKÅDIS pegboard
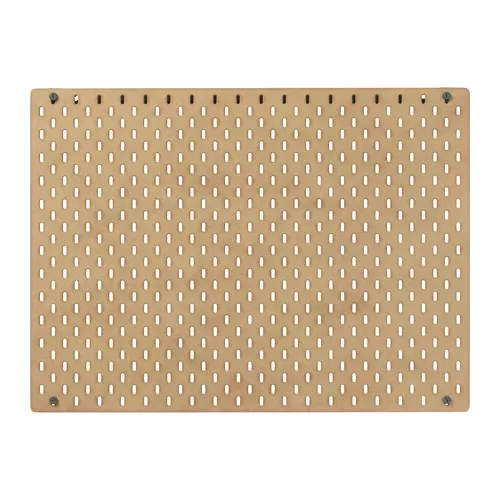
The wooden SKÅDIS pegboard, measuring 76 x 56 cm, can be used in a home office, bathroom, hallway, or kitchen. Its size provides enough space for organizing various small items.
Add SKÅDIS accessories to create a storage combination that suits your needs. The position of each accessory can be adjusted to make items easier to reach.
5. White SKÅDIS Pegboard Combination
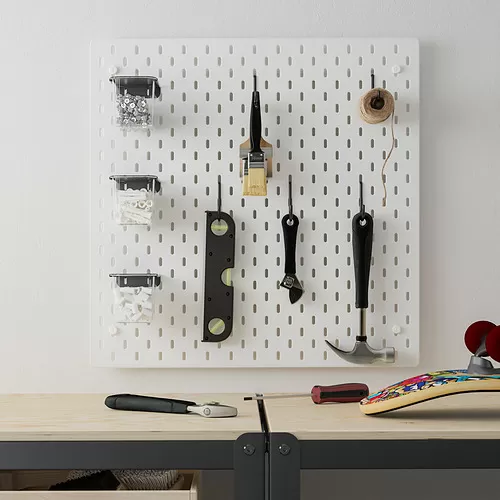
The white SKÅDIS pegboard combination, measuring 56 x 56 cm, can be used to organize various areas around the home. This system keeps items visible, making them easier to find when needed.
SKÅDIS accessories can be placed on different parts of the pegboard according to your needs. Their positions can also be changed without additional tools, making the layout more flexible.
Read also: How to Assemble an IKEA PAX Wardrobe
Tips for maintaining a pegboard for long-term use
Regular maintenance helps keep your pegboard sturdy, clean, and comfortable to use over the long term. A simple inspection every few months can also prevent minor issues from developing into damage.
-
Check the tightness of the screws and the condition of the hooks every few months.
-
Retighten any screws or accessories that have started to become loose.
-
Regularly remove dust using a soft cloth or vacuum cleaner.
-
Check for signs of mold on pegboards installed in damp areas.
-
Check for rust on the pegboard or metal accessories.
-
Perform a re-layout approximately every six months or whenever your storage needs change.
-
Avoid leaving the pegboard under excessive load for extended periods.
-
Regularly inspect the condition of the wall, furring strips, and anchors.
How to install a pegboard safely, neatly, and securely
Installing a pegboard requires accurate measurements, an appropriate support structure, and hardware with sufficient load capacity. Make sure the board has adequate clearance from the wall, is properly level, and is not loaded beyond its capacity.
For practical storage solutions, IKEA offers a variety of pegboards and wall organizers in different sizes, colors, and accessories. Visit IKEA.co.id to explore various pegboard and storage system options that can be customized to suit your needs.
FAQ
Some types of pegboards or specialized systems can be installed without furring strips if their design already provides enough space for the hooks. Check the product's installation system first to ensure the accessories can be properly attached.
The load capacity is determined not only by the pegboard material but also by the hooks, screws, anchors, support structure, and type of wall. For heavy items, use a sturdy pegboard and make sure the mounting system has an appropriate load capacity.
A pegboard can be installed on a door as long as the door material and hardware can support its weight. Consider the additional weight of the accessories and stored items, as excessive loads can make the door difficult to open or put strain on the hinges.
Choose hooks based on the size of the pegboard holes and the type of items you plan to hang. Make sure the hook's length and shape are suitable so the accessory can lock securely in place during use.
A pegboard can be used in a bedroom to store accessories, stationery, jewelry, or other small items. Choose a size and color that complements the interior to keep the storage area functional and visually organized.