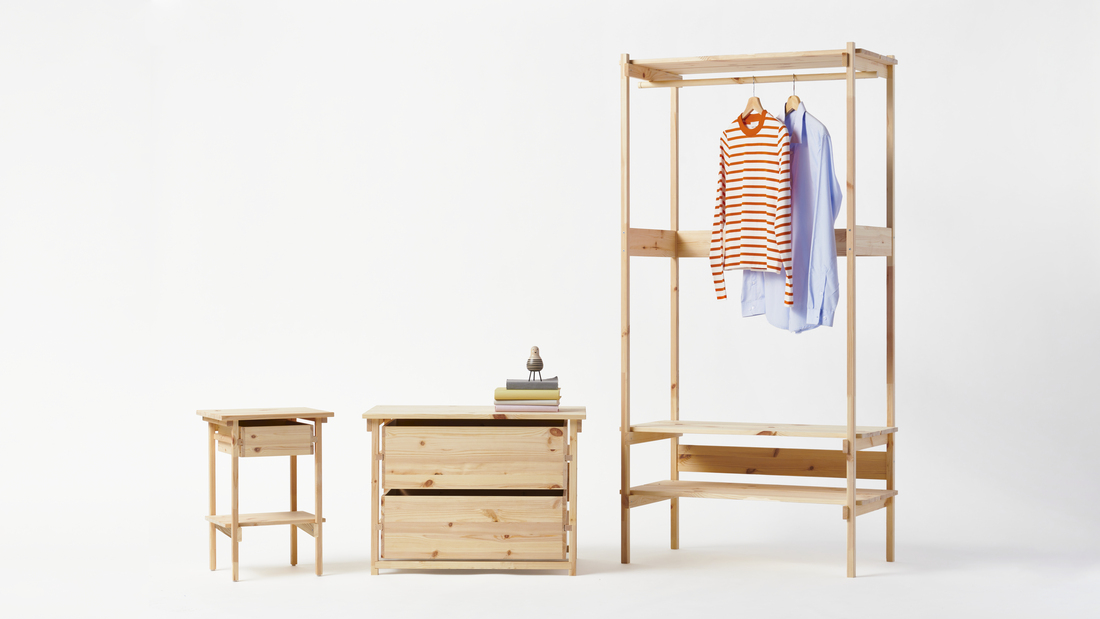
Assembling an IKEA PAX wardrobe is relatively straightforward as long as you follow each step in the correct order. Proper preparation will also make the installation process faster and ensure a cleaner, more professional-looking result.
In addition to following the assembly instructions, make sure your room measurements, components, and installation location are all prepared beforehand. This helps ensure the wardrobe remains sturdy and functional for years to come. Read the guide below to learn more.
Assembling an IKEA PAX wardrobe is easy when you carefully follow the installation instructions. Once assembled, you can use it to store clothing, accessories, and many other household items.
Step-by-Step Guide to Assembling an IKEA PAX Wardrobe
Here are the correct steps for assembling an IKEA PAX wardrobe:
1. Measure the Available Space
The first step is to measure the area where the wardrobe will be installed. Accurate measurements ensure the wardrobe fits properly, making the installation process smoother.
Also consider the ceiling height, the clearance needed for opening the doors, and the distance from surrounding furniture. This simple preparation minimizes the need to reposition or reassemble the wardrobe later.
2. Assemble the Wardrobe Frame
Once the installation area is ready, begin assembling the wardrobe frame on a flat surface. Attach the base panel, side panels, and top panel in sequence to keep the structure stable throughout the assembly process.
After completing the frame, double-check that every connection is securely fastened. A straight and sturdy frame makes it easier to install the remaining components and helps improve the wardrobe's durability.
3. Install the Wardrobe Components Properly
Next, install the back panel, doors, hinges, and locking mechanisms according to the assembly instructions. Ensure each part is securely attached so the wardrobe remains stable during daily use.
After all components have been installed, test the doors by opening and closing them several times. If the doors are not properly aligned, make the necessary adjustments until they operate smoothly and the gaps between panels are even.
4. Install Drawers, Shelves, and Accessories
Once the frame and doors have been installed, continue by adding the shelves, drawers, and interior accessories. Arrange them according to the items you plan to store to maximize storage efficiency.
Since everyone's storage needs are different, choose the shelf and drawer configuration that best suits your daily routine and storage requirements.
5. Perform a Final Inspection
The final step is to inspect the entire wardrobe before using it. Make sure the frame is stable, the doors open and close smoothly, and the drawers slide without difficulty.
If any parts feel loose or appear misaligned, adjust them before placing items inside. This final inspection helps ensure the wardrobe is safe, durable, and comfortable to use over the long term.
Read Also: Multifunctional wardrobe designs for a more spacious and organized home
5 Recommended IKEA Wardrobes
IKEA offers a wide selection of wardrobes designed to suit different room sizes and storage needs. Browse the wardrobe collection to find the perfect solution for your home.
Here are five IKEA wardrobe recommendations:
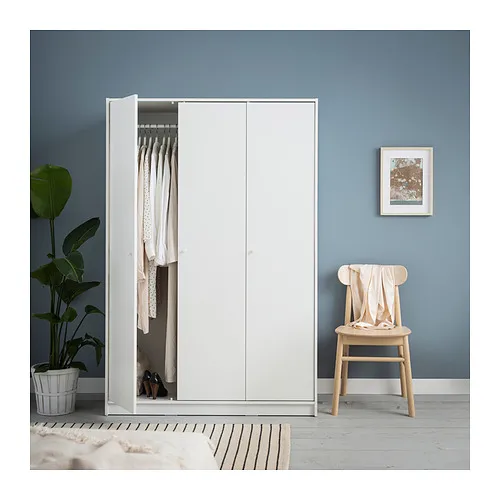
1. KLEPPSTAD
KLEPPSTAD is a three-door wardrobe measuring 117x176 cm with a minimalist design that complements a wide range of interior styles.
It provides ample storage space to keep your clothes neatly organized in one place.
If you need additional storage, you can purchase the KLEPPSTAD shelf separately. This flexibility allows you to customize the interior according to your storage needs.
Click the image for more details:
2. MALM
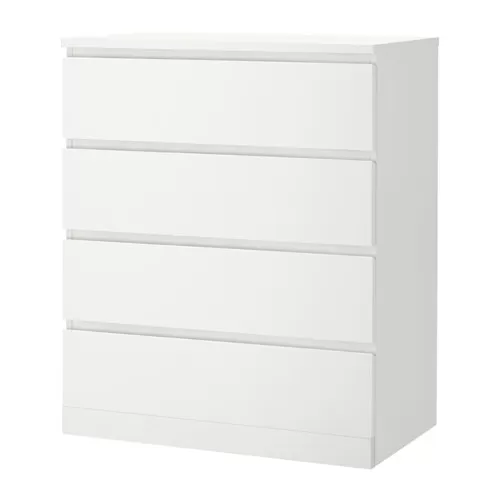
MALM is a four-drawer chest measuring 80x100 cm, ideal for storing folded clothes and everyday essentials. Its simple design blends easily with various room styles.
The drawers feature built-in pull-out stops for smoother opening and closing. You can also add SKUBB storage boxes for better organization, while the included wall-anchoring kit provides additional safety.
Click the image for more details:
3. GURSKEN
GURSKEN is a light beige three-drawer chest measuring 69x67 cm, suitable for bedrooms or living rooms. The top surface can also be used to display decorative items.
The product includes a wall-anchoring kit for enhanced safety, helping keep the furniture stable, especially in households with children.
Click the image for more details:
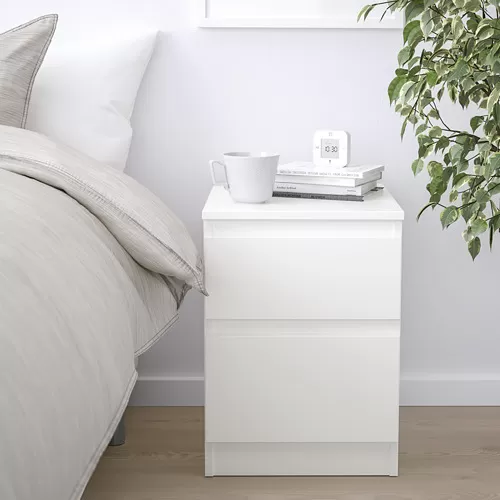
4. KULLEN
KULLEN is a compact two-drawer chest measuring 35x49 cm, making it ideal for small spaces. It works well as additional storage beside the bed or in unused corners.
It is made from a combination of particleboard, fiberboard, and paper foil, providing a clean appearance while remaining easy to maintain. These materials also ensure reliable durability for everyday use.
Click the image for more details:
5. FJÄDERHARV
FJÄDERHARV is a compact two-drawer mini storage unit measuring 32x25 cm, made from sturdy cardboard.
Its compact size makes it ideal for organizing documents, notebooks, and other small household items.
This mini cabinet fits neatly inside bookcases such as BILLY or other shelving units with a minimum depth of 25 cm. You can also stack two units to maximize storage space on desks or bookshelves.
Click the image for more details:
Read Also: Minimalist kitchen cabinet designs for modern homes
Common Mistakes When Assembling a Wardrobe
Assembling a wardrobe becomes much easier with proper preparation. Avoid these common mistakes:
-
Failing to measure the installation area before assembly.
-
Not following the assembly instructions in the correct order.
-
Installing the wardrobe on an uneven floor.
-
Failing to fully tighten screws and locking mechanisms.
-
Positioning the wardrobe too close to walls or other furniture.
-
Skipping the final inspection after assembly.
-
Loading the wardrobe with heavy items before confirming its stability.
How to Organize Your Wardrobe Efficiently
A properly organized wardrobe is much more functional and makes it easier to find your belongings.
Here are some practical organization tips:
-
Sort items by category and purpose.
-
Keep frequently used clothing within easy reach.
-
Use shelves for folded clothes to maintain neat stacks.
-
Hang garments in areas with sufficient vertical space.
-
Store underwear, accessories, and small items in drawers.
-
Avoid overfilling the wardrobe to maintain proper organization.
-
Use dividers to separate compartments.
-
Return each item to its designated place after use.
Creative Ways to Use Plastic Cabinets or Shelving Units
Plastic cabinets and shelving units are not limited to clothing storage. They can also help organize various rooms throughout your home.
Here are a few placement ideas:
1. Bedroom and Dressing Area
Use a plastic wardrobe to store clothing, bags, bed linens, and personal belongings while protecting them from dust.
Organize items based on how frequently they're used so they're easier to access. This makes getting dressed quicker while keeping the wardrobe tidy.
2. Bathroom and Laundry Room
Plastic shelving is a practical solution for storing detergent, fabric softener, toiletries, and towels. Its lightweight design also makes it easy to move when cleaning.
Plastic shelves help maximize unused space without making the room feel cramped. An organized storage system keeps daily essentials within easy reach.
3. Children's Room and Multi-Purpose Areas
In a child's bedroom, plastic cabinets or shelves can be used to organize toys, books, clothing, and school supplies. A simple organization system also encourages children to return items to their proper places.
In multi-purpose spaces, plastic shelving provides extra storage while keeping the room neat and organized. This solution works well in home offices, living rooms, or unused corners.
Tips for Keeping Your Wardrobe in Good Condition
To keep your wardrobe durable and functional, follow these maintenance tips:
-
Clean the surface regularly using a soft cloth.
-
Do not store damp clothing or wet items inside.
-
Avoid exceeding the wardrobe's weight capacity.
-
Reorganize the contents regularly to maintain proper storage.
-
Tighten screws and fasteners if they become loose.
-
Place the wardrobe on a level surface.
-
Maintain good air circulation around the wardrobe, especially in humid rooms.
Find the IKEA Wardrobe That Fits Your Needs
Assembling an IKEA PAX wardrobe is much easier when you follow the process step by step, from measuring your room to ensuring every component is securely installed.
If you're looking for a wardrobe for your bedroom, storage room, or another multifunctional space, IKEA offers a wide range of modern wardrobe designs in various sizes.
Visit IKEA.co.id to find a wardrobe that matches your storage needs, interior style, and available space.
Frequently Asked Questions
Yes. An IKEA PAX wardrobe can be disassembled and reassembled if necessary, such as when moving to a new home. However, it should be taken apart carefully to avoid damaging the panels, hinges, or locking mechanisms.
Assembly time depends on the wardrobe size and the number of accessories installed. In general, it takes approximately 2 to 5 hours when following the instructions and using the proper tools.
Yes. It is recommended to anchor the PAX wardrobe to the wall using the provided safety hardware. This improves stability and reduces the risk of the wardrobe tipping over, especially when doors or drawers are frequently opened.
Commonly required tools include a screwdriver, rubber mallet, measuring tape, spirit level, and a drill if the wardrobe will be secured to the wall. Make sure all components are available before starting the assembly.
Yes. One of the main advantages of the PAX system is its flexibility. You can add shelves, drawers, clothes rails, storage boxes, and other accessories whenever needed without replacing the entire wardrobe.