A clean, well maintained bathroom is not just about appearance; it is also about family health. Due to the high humidity, this area can easily become a breeding ground for mold, bacteria, and other germs, affecting air quality and skin health.
Indeed, cleaning the bathroom often feels tiring and time consuming. Therefore, this article is here to simplify the process.
Let us explore this comprehensive guide to cleaning your bathroom quickly and efficiently, supported by smart shower-toilet solutions from IKEA!
The initial step before cleaning the bathroom
Before you start scrubbing and wiping the bathroom area, prepare everything you need so that the cleaning process runs smoothly.
Read Also: Perfect your bathing moments with a luxurious and spacious bathroom arrangement - IKEA Indonesia
Sorting and tidying up the necessary items
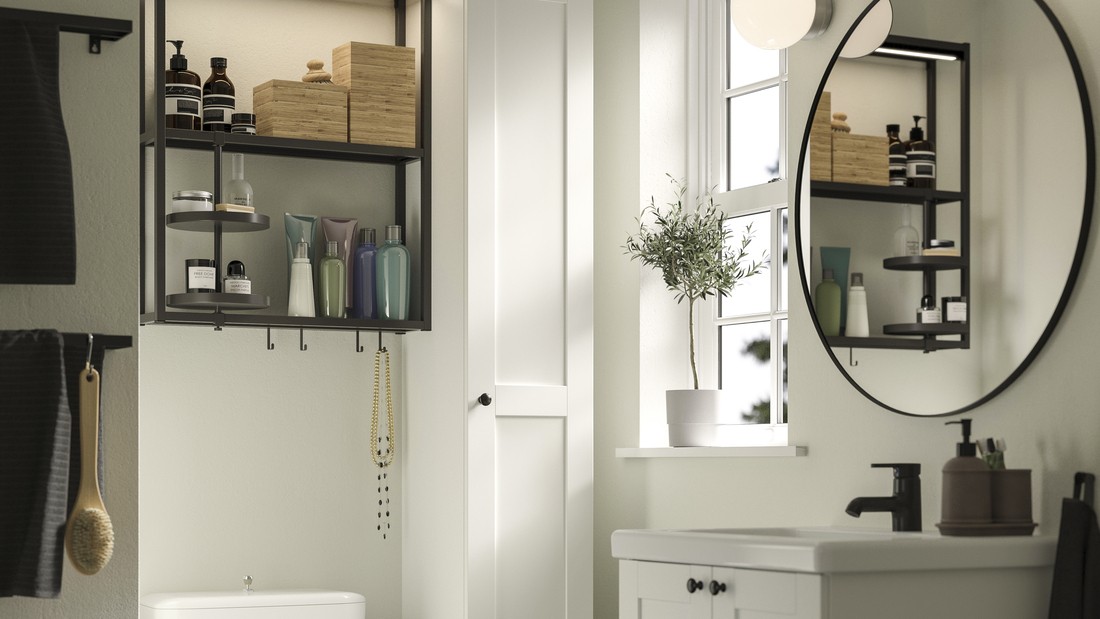
Organizing your cleaning tools from the start can make cleaning the bathroom feel lighter. Use a storage box or an easy-to-carry plastic basket to collect detergent, brushes, and cloths so you do not have to go back and forth.
Also, move personal items from the sink, bathtub, and floor so the surfaces are easily accessible. With this small step, cleaning becomes faster, and no area is missed.
Steps for cleaning the bathroom efficiently
Once all the equipment is ready and the bathroom surfaces are free of personal items, it is time to start cleaning. Here is the cleaning sequence you can follow for maximum results and a lighter process.
Step 1: Cleaning the dry area
Start from the highest and usually driest parts, such as the mirror, windows, and ceiling. You can use a microfiber cloth from IKEA along with your usual glass cleaner.
Microfiber cloth is effective at lifting dust without leaving lint or scratches. This cloth is also suitable for cleaning cobwebs and condensation stains on the mirror and window frames.
By cleaning the upper area first, any falling dirt will not soil the lower parts that have not been cleaned, such as the sink or the floor.
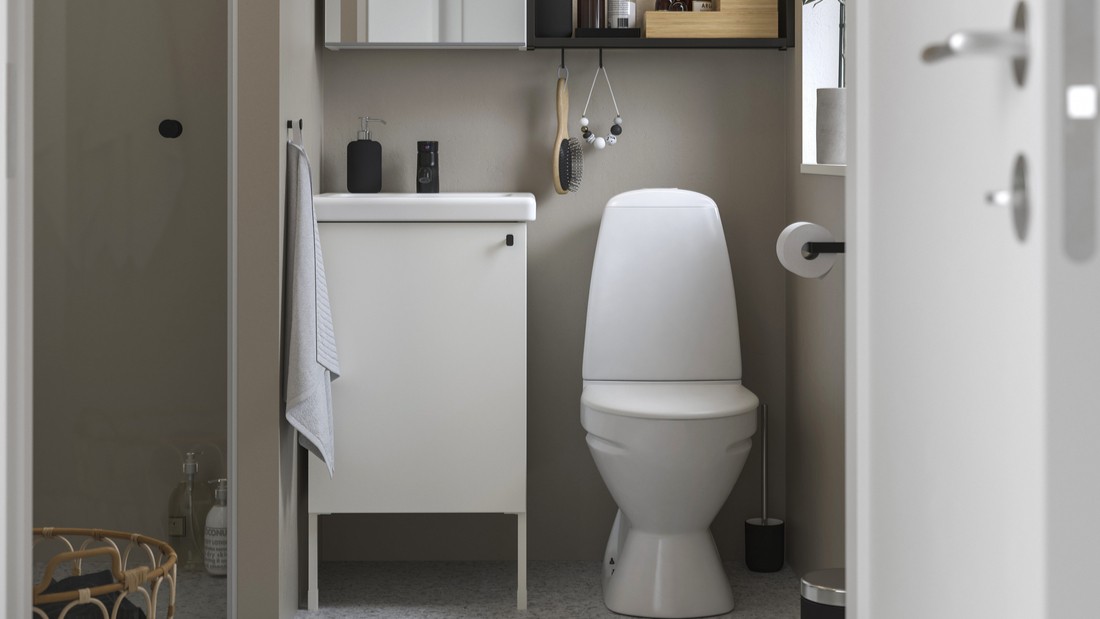
Step 2: Focus on the sink and toilet area
After the dry section is finished, continue to the sink and toilet. Use a toilet brush to clean the inside of the toilet bowl, then use a small brush for the faucet and the narrow area around the sink.
Add disinfectant when scrubbing to eliminate germs and lift stubborn stains. The area around the faucet often gets dirty quickly due to drying water, so it needs extra attention. Once this section is thoroughly cleaned, the bathroom will feel cleaner and smell better.
Step 3: Removing mold and soap scum in the bathtub or shower
Move on to the bathtub or shower area, where mold and soap easily accumulate. Spray an anti-mold cleaner on the shower walls, and let it sit for a while so the active ingredients can work.
Scrub the surface thoroughly using a special brush or a long-handled scrubber. Make sure the entire wall is free of soap and mildew, so the shower looks clean and stain-free.
Read Also: IKEA bathroom shower recommendations and installation tips - IKEA Indonesia
Step 4: Scrubbing the floor and finishing the cleaning
After all vertical and sanitation areas are cleaned, it is time to tackle the floor as the final step. First, sweep up any residual dirt that fell during the previous process, then scrub the floor with a brush and detergent to clean the tiles and grout.
After that, rinse and dry the floor using a quality mop. Finally, return all storage boxes and personal items to their places. Hang clean bath towels, and spray room freshener to make the bathroom feel fresh and spotless.
Effective ways to prevent grime and mold in the bathroom