Grow your own table top mushrooms – in coffee grounds

Did you know that when you have a cup of brewed coffee you harness less than 1 percent of the coffee beans’ nutrients? Instead of throwing away the remaining 99 percent – turn it into the basis of your very own mushroom hot spot.
 

In their brand-new cookbook Future Food Today research and design lab SPACE10 let us know how the table top mushrooms become a success. All you need are fresh coffee grounds, mycelium, a glass jar – and a bit of patience. It takes 6 to 8 weeks before you can enjoy the goodness.

 
This is what you need
 
Microporous tape

Find this at your local pharmacy.

Airtight lid

A metal, screw-on lid is easier to drill through than glass.

Big glass jar
 
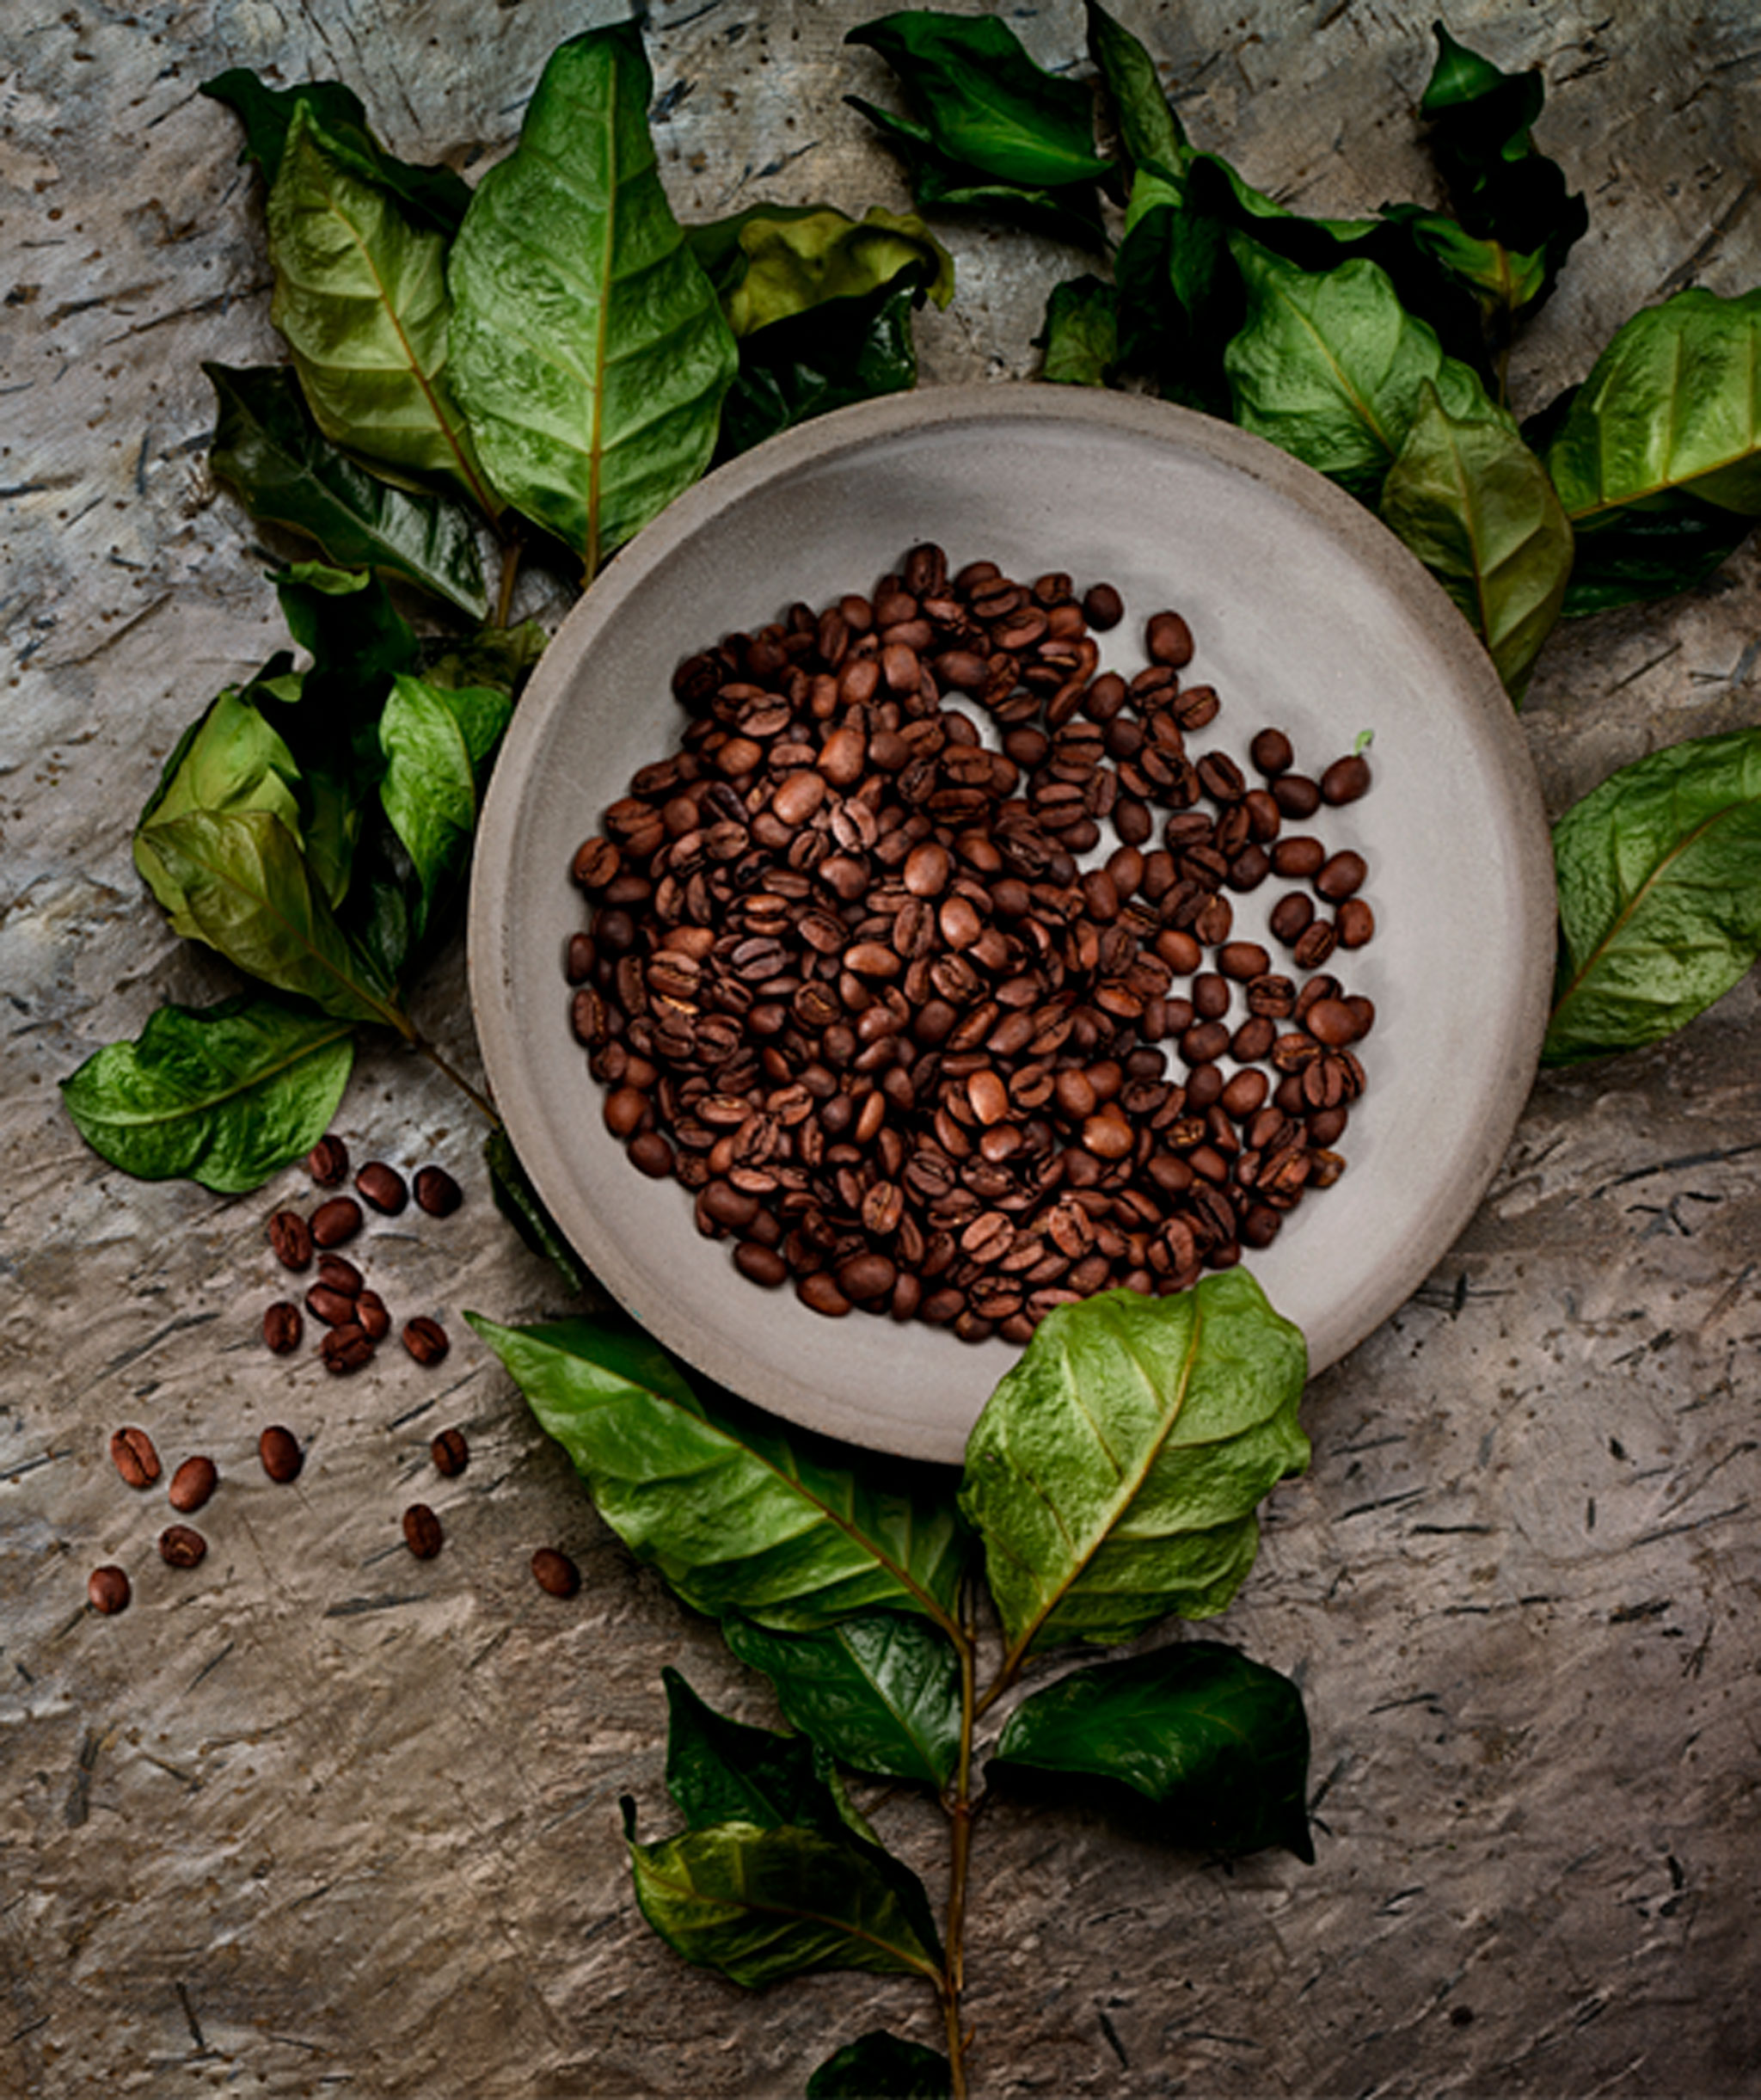
Spent coffee grounds

Make sure you let the coffee grounds cool down, otherwise the heat will kill the mycelium when you mix the two together.

Mycelium

Mycelium is the vegetative structure of fungi. To find this, get in touch with local mushroom farmers.

This is how you do it
  1. When growing mushrooms, sanitation is key. So, before you begin, thoroughly wash your hands with soap and hand sanitiser.
  2. Drill two holes in the lid, about 20 mm in diameter each. To avoid messy edges on a metal lid, sandwich the metal between two pieces of scrap wood, clamp the whole thing to a work table, then drill through the wood and metal in one go. Search for more detail online if you’re uncertain.
  3. Next, sterilise the lid and jar by submerging them in boiling water for about one minute. Dry, then cover the two holes in the lid with microporous tape to make sure bacteria can’t get in.
  4. Mix the mycelium and your freshly brewed coffee grounds in the jar, cover, and store in a dark place. Keep the temperature at 20-25°C for 2-3 days, until the grounds are completely covered with white mycelium. Then add 1-2 cm of freshly brewed coffee grounds and wait for the mycelium to cover it up once again. Proceed until the jar is filled with coffee grounds.
  5. When the last coffee grounds have turned white, place the jar in a humid and light place at about 15-20°C. Avoid direct sunlight. After 10-14 days, the oyster mushrooms will pop up from the holes of the lids, forcing away the microporous tape. If the tape doesn’t come off on its own, give the mushrooms a little help.
  6. Harvest when there’s a cluster of oyster mushrooms and the heads appear horizontal. After the second or third harvest, the jar won’t produce any more mushrooms. Remove 80 percent of the substrate, put on new microporous tape and add fresh coffee grounds to the jar. Now you’re ready for a second round. 
Future Food Today and SPACE10
Photo of mushrooms: Kasper Kristoffersen
 
We love to see our customers get creative with our products. Go for it! But please note that altering or modifying IKEA products so they can no longer be re-sold or used for their original purpose, means the IKEA commercial guarantees and your right to return the products will be lost.

Back to top
cross